Mapping Locations with Google Maps
How to plot locations on a beautiful custom map.
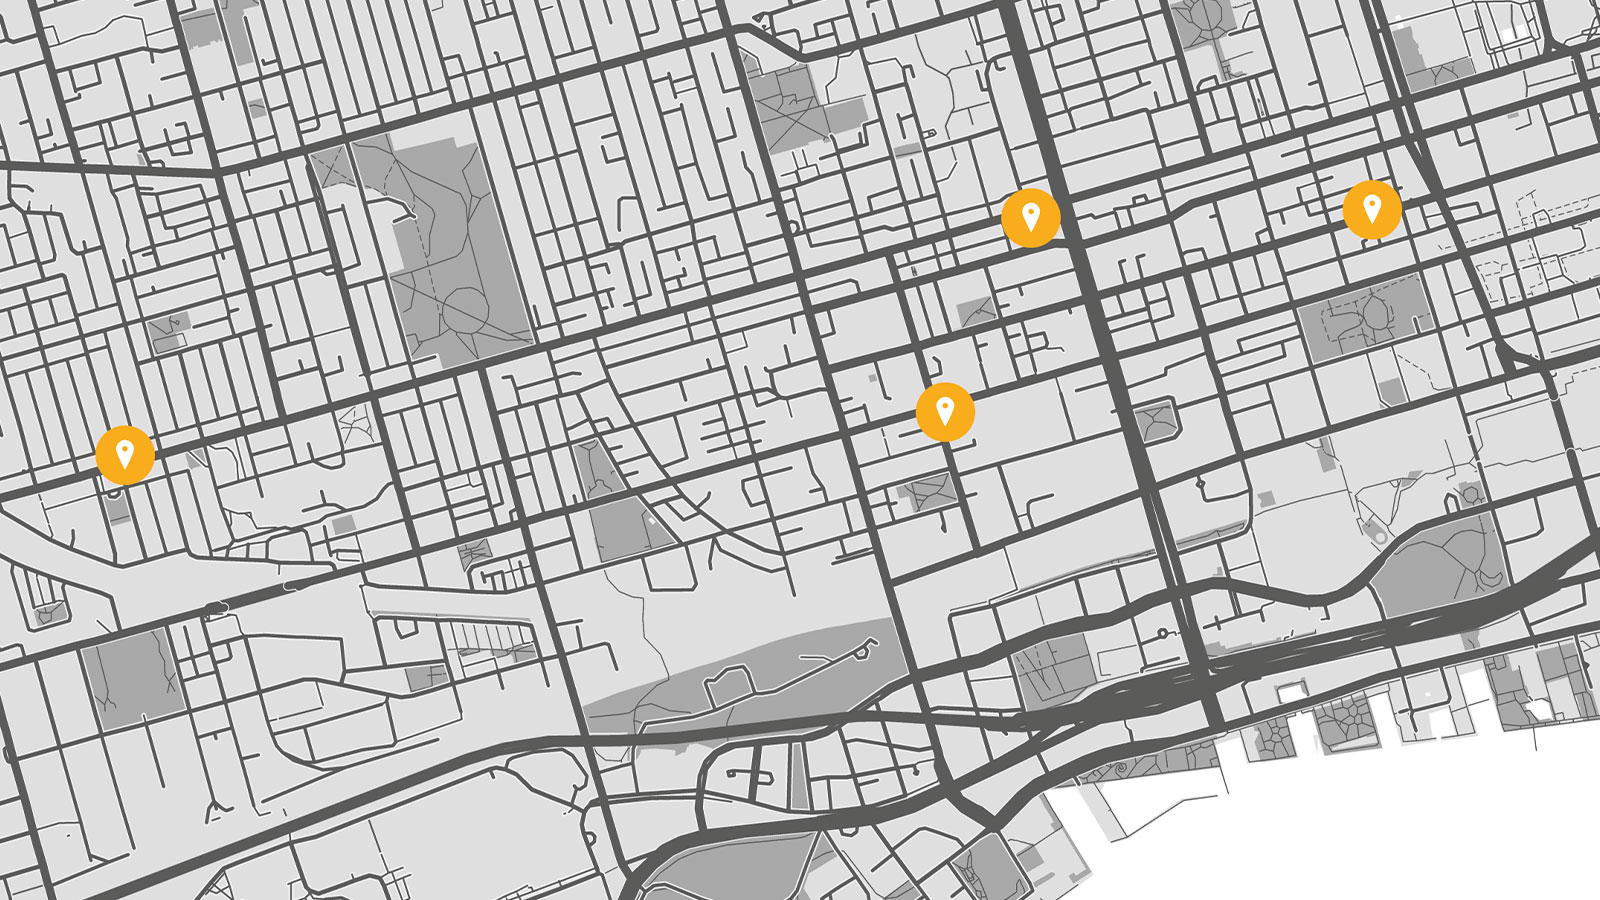
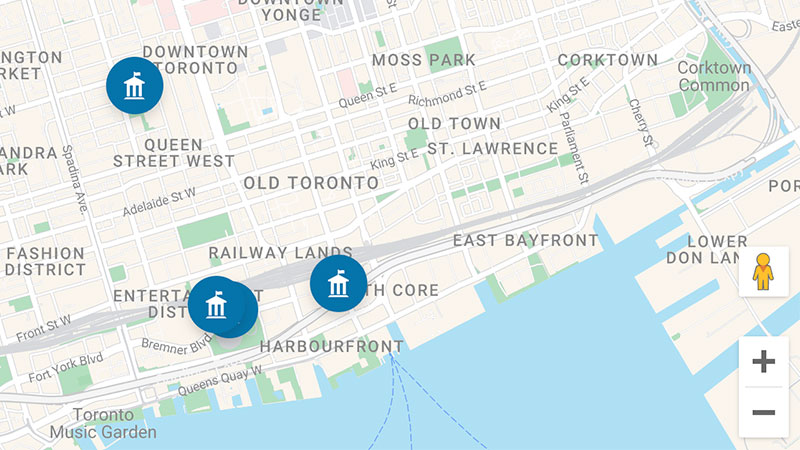
When we need to create a custom map, most of us will hop on over to Google and use their data to lay it all out. Google Maps, like all of our beloved Google resources, is an excellent tool that makes it easy to find any address with minimal location information.
However, some users have the need or desire for a little bit more creativity in terms of visualization and map style. This is where the Atlist mapping software comes into play and can take a basic map to the next level by making it more attractive overall. Another plus? It’s 100% free to get started, and you won’t even need a credit card to begin.
Check out this easy-to-follow webpage tutorial and get a feel for mapping software packed with endless design options. You can follow along by starting at the homepage here or try our simple map maker.
Create a Custom Map
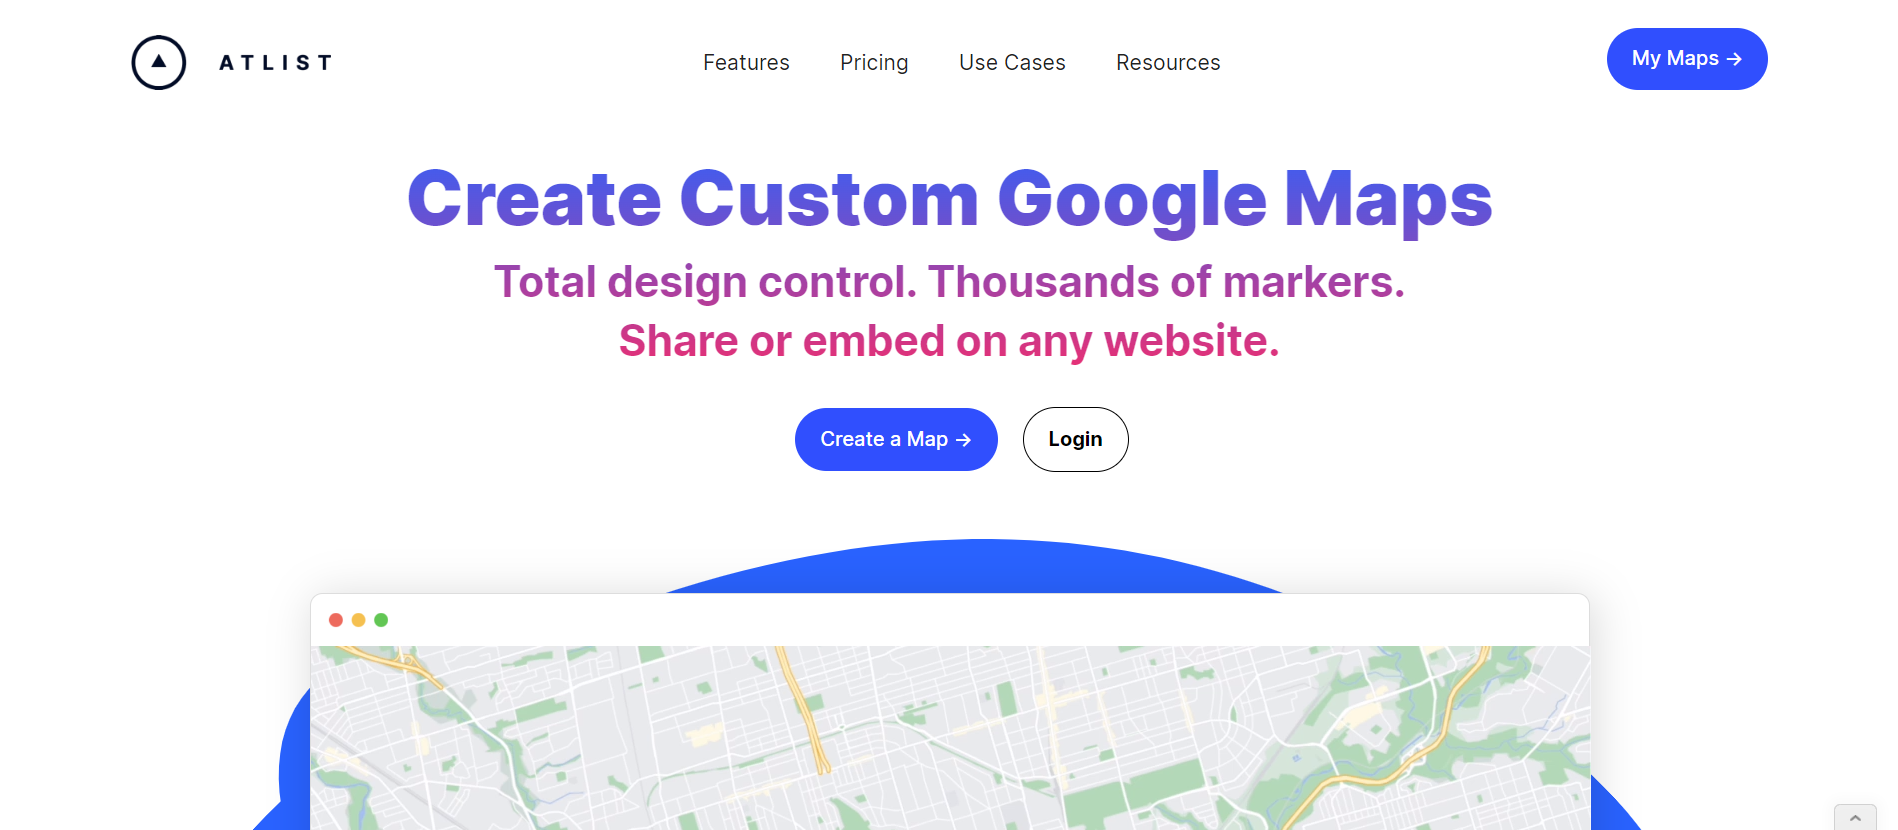
Start here by clicking the blue button that says Create a Map. :)
Sign Up
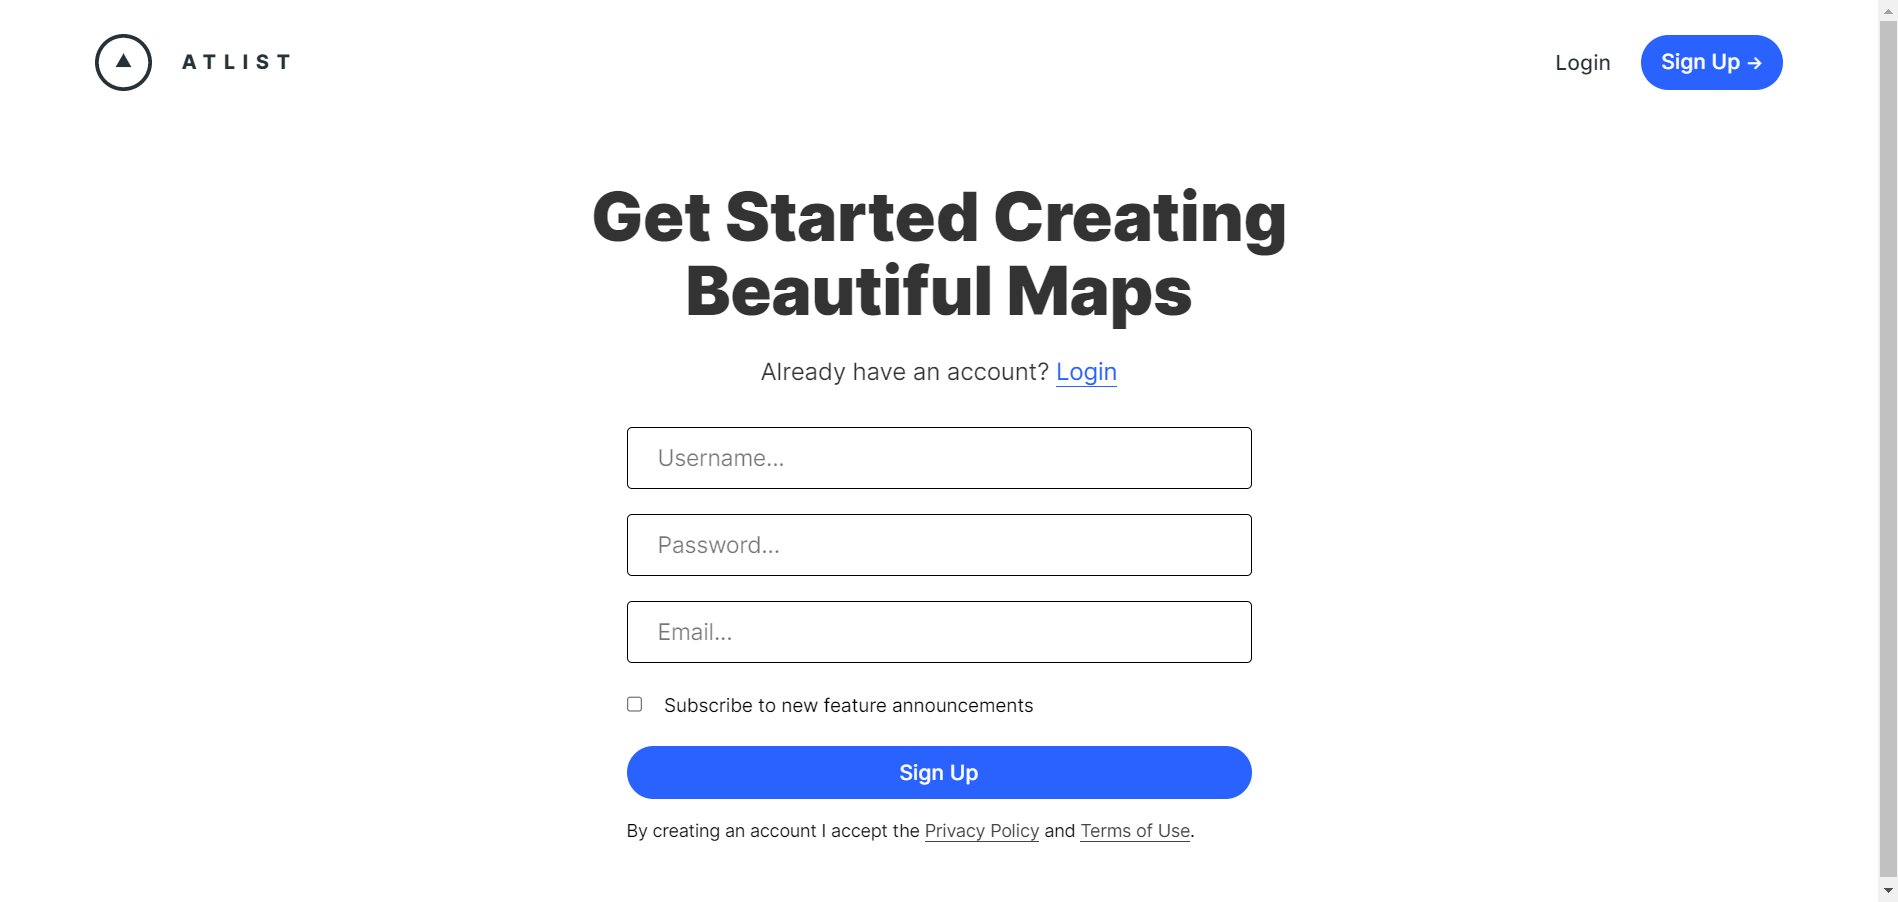
New users will need to sign up. Create a username, password and provide your email address— that’s it! If this isn’t your first time visiting Atlist, then welcome back and login!
Name Your Map
At the top of your new map, it will read as Untitled Map. Any new custom map will show up this way until you decide on a name. You may have more than one untitled maps in your My Maps history if you haven’t yet decided on a title.
Next to your map title, you’ll see a drop down menu. At any time you can rename your custom map, export it elsewhere or trash it altogether.
.png)

In the top right corner, the blue My Maps is where you’ll see all of the maps you’re working on.
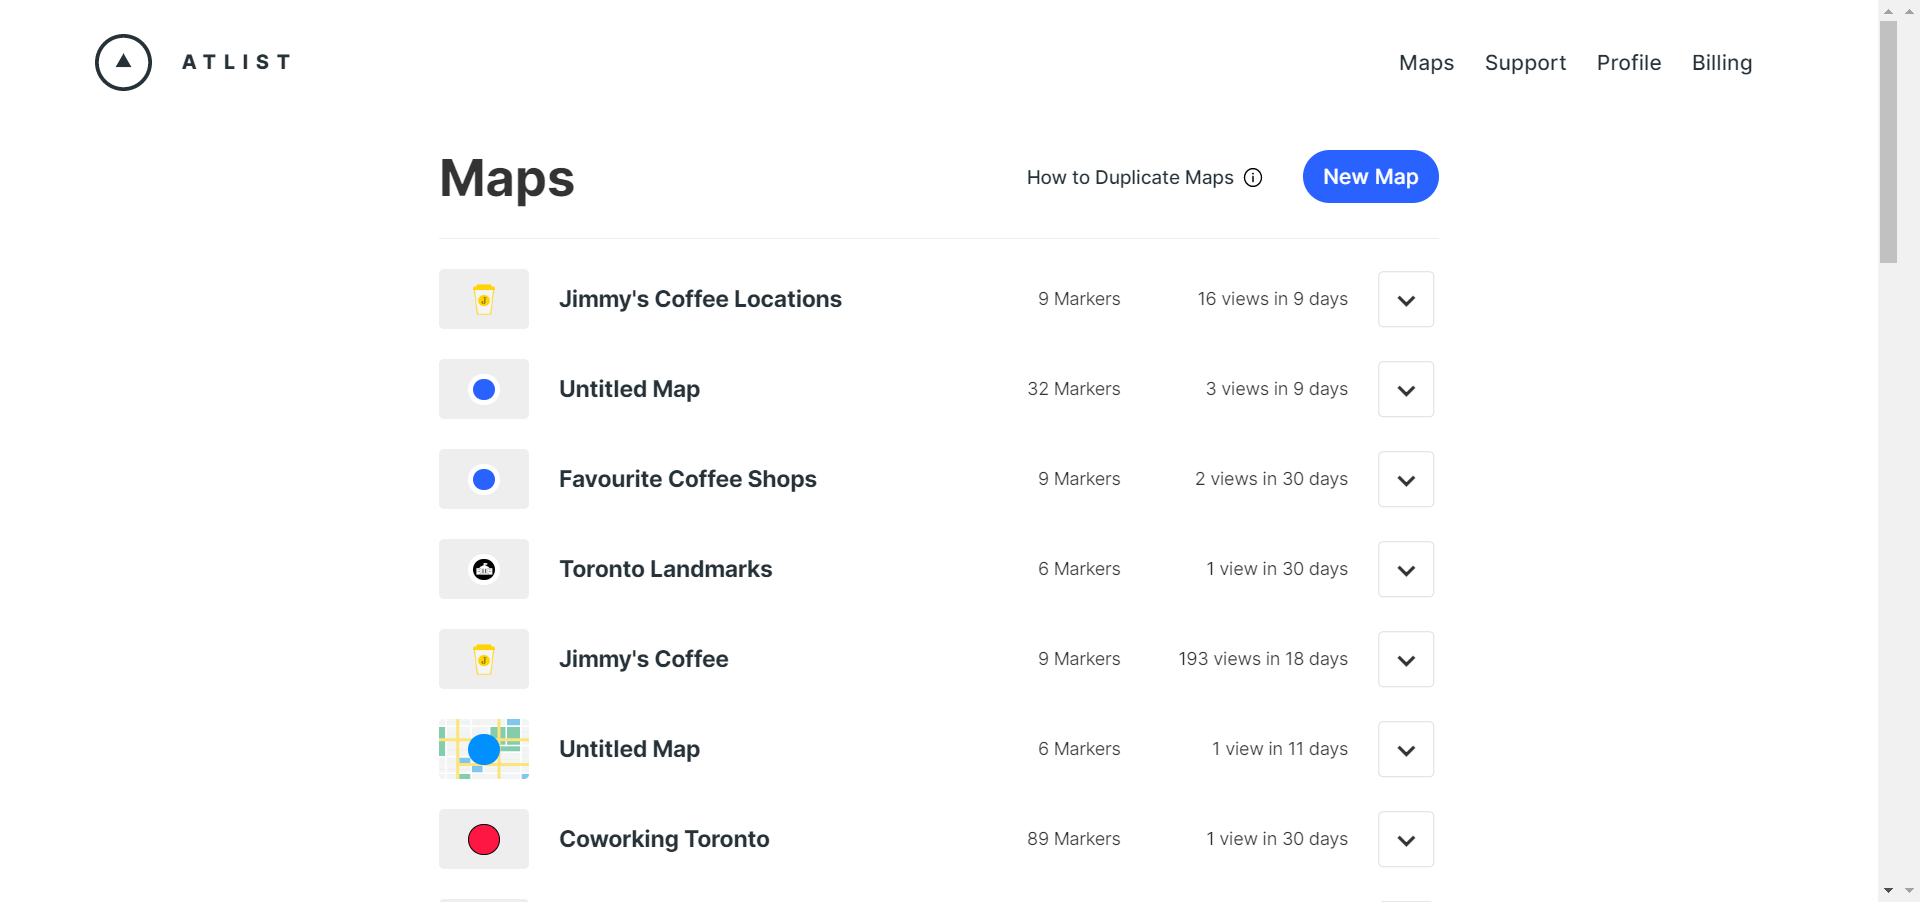
When you create your account, you’ll have access to any custom maps that are in progress as well as any interactive maps you’ve created previously.
Search Atlist for Geographic Data
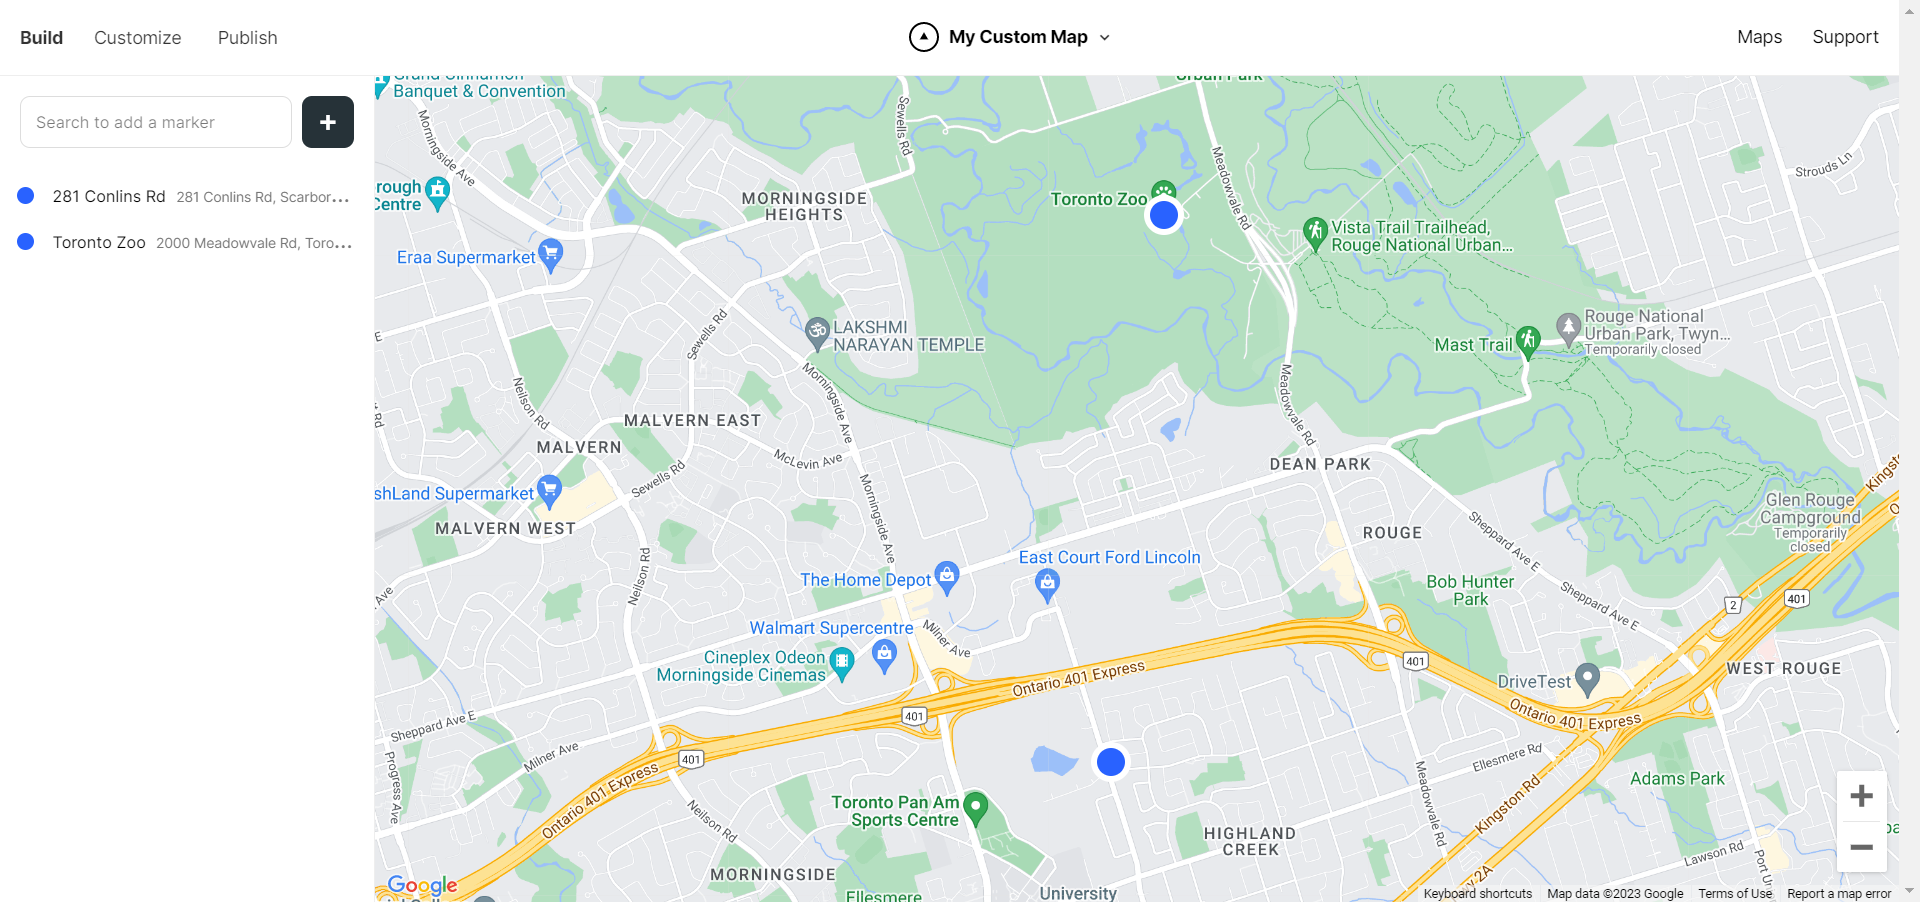
On the left hand side of the webpage you’ll see a little bouncing arrow telling you to search to add a marker. When you begin typing in the location data, the mapping software will begin to search to find the closest match. You’ll see several options pop up so you can pick the right one for your custom map.
Once you find the right one, click on it and your interactive map is now on its way.
.png)
Single or Multiple Location Map
Need a map visualization for an event invitation? Starting a new business and want to give customers a better map view of where you’re at? A creative single location map can seamlessly be added anywhere you like for clarity and design flare.
.png)
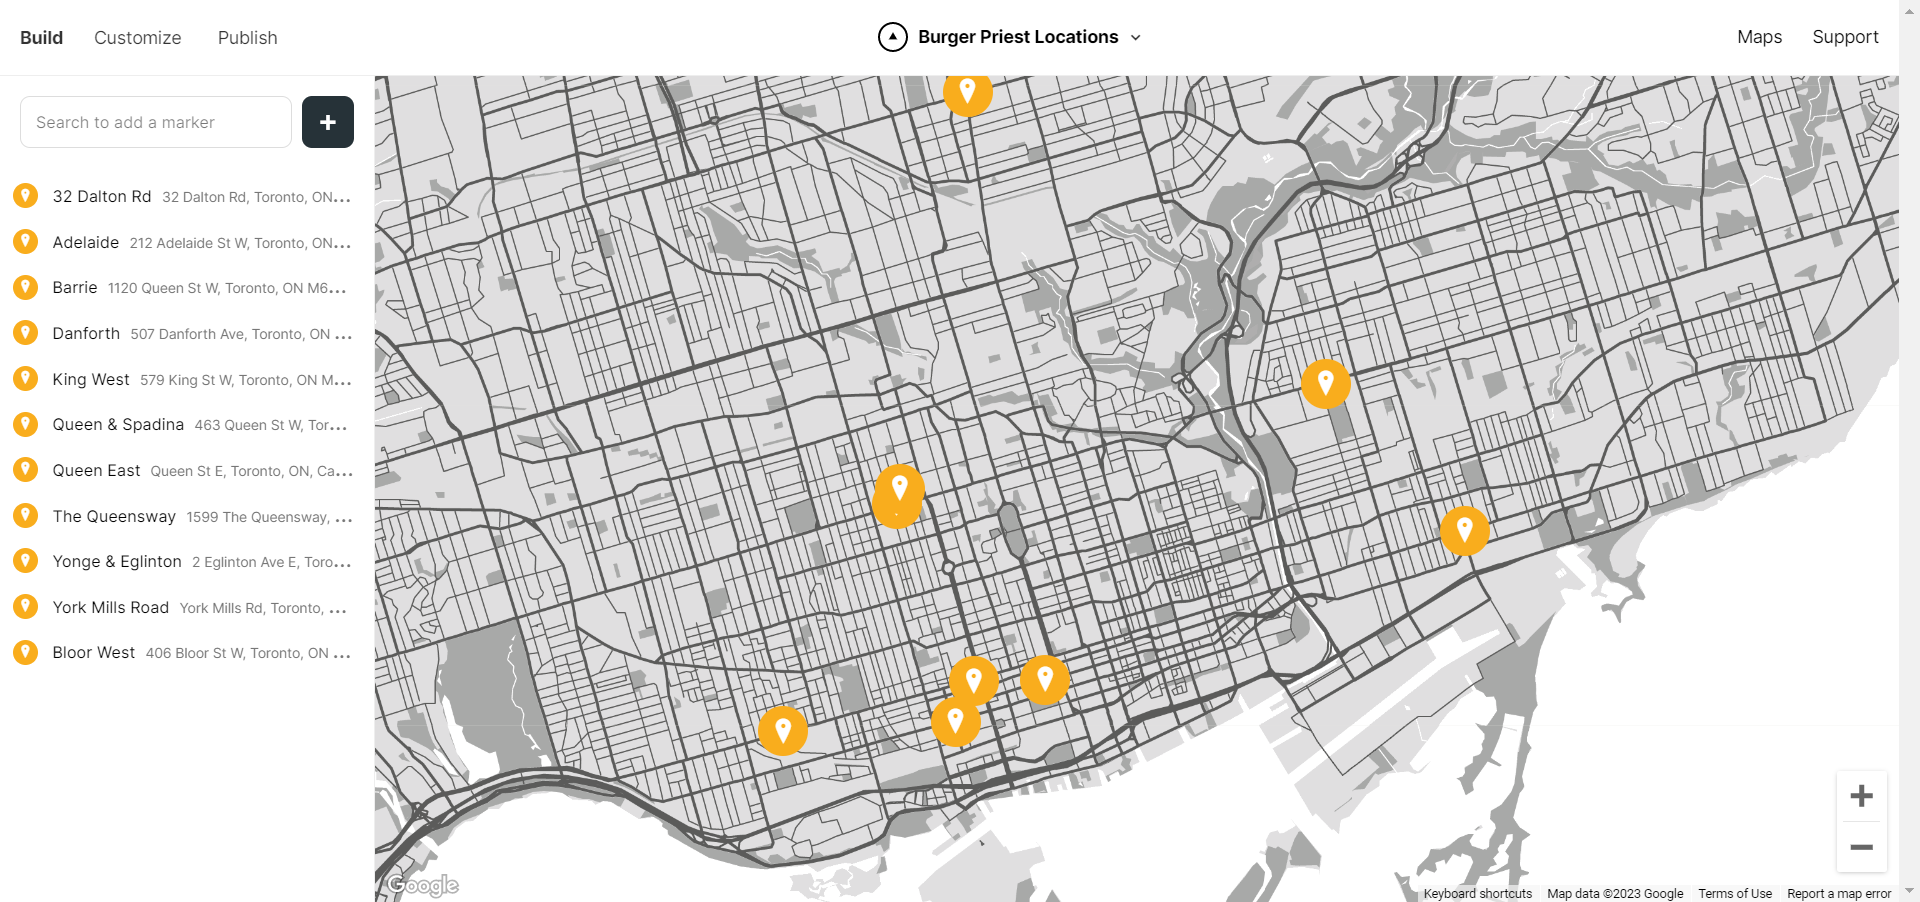
If you’re a planner and setting out on a worldly adventure, a multiple-location map is great not only for yourself to reference but for those joining you along the way.
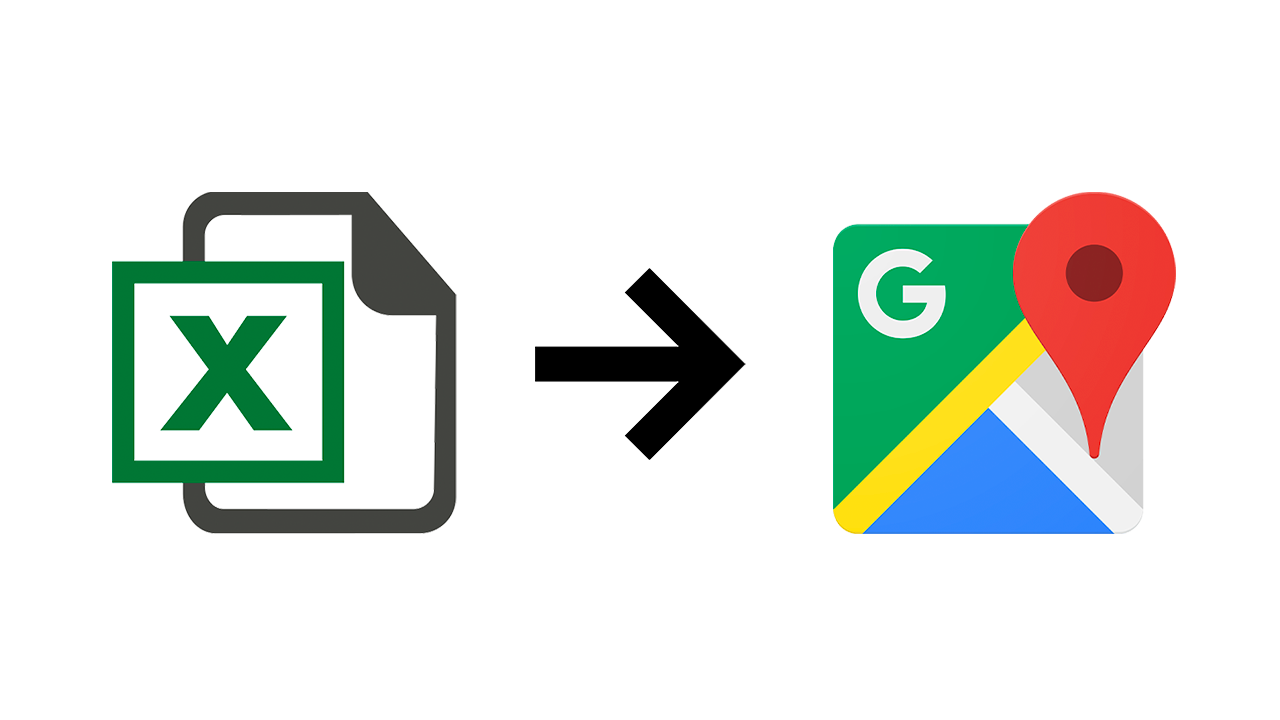
For time-saving purposes, you can upload bulk location data from Excel or Google Docs and quickly move on to customizing your map style. Whatever type of custom map you choose to create, the mapping software embeds your map to webpages, literature, and more.
Edit Content
Once a map location is added, you can edit data or add information at any time and create a custom marker. When a map location is selected, you’ll see subcategories for “content” and “style”.
Under content, you can edit any location information. Provide viewers with pictures of the location, any helpful notes and even give it a more custom name.
.png)
Edit Style
The style subcategory a where users get a chance to really dive into all the unique things the mapping software has to offer. Change the styles and colors of map locations, have fun with borders and adjust the size of the marker. Want something even more specific and custom? Upload fun icons that match the theme of your map!
.png)
Design & Customize
Under the Customize tab users can explore all the fun design and viewing options. The Atlist mapping software takes reliable data from Google Maps and provides thousands of unique ways to make the map all yours. One of the best things is the number of options users can find, ranging from business needs to a fun night out in the city.
Different themes, fonts and interactive map layers provide thousands of unique ways to make a map all yours without sacrificing functionality. Adjust any limits as needed and to alter accessibility based on the map!
.png)
.png)
Publish It!
When you feel excited about your new map and all of the data is there, it’s time to publish it! Click “Publish". You’ll now see your creative new map! Copy the code to easily embed your map onto a webpage, copy the link to share with whoever you wish or copy the image itself.
(Just make sure your permissions are set to public or customized as needed when using the link)
.png)
With the help of Google, transform an informational map into an attractive, interactive map that anyone can use, tech-savvy or not.
If at any point along the way you have questions, you can click on "Support” in the top right corner. You’ll find more videos and information that make it easy to bring your custom map vision to life.
Thanks for reading and hope that was helpful.
Have fun making your map!


.png)
